In the first part I am explaining how to do export and import using js.
here is my sample module ‘myutile.js‘
const myMethod1 = () => {
    console.log('Hi 1')
}

const myMethod2 = () => {
    console.log('Hi 2')
}

const myData = {
    name:'myname',
    age:22
}

module.exports = {
    myMethod1,
    myMethod2,
    myData
};
we can import all from the above module
var access1 = require('./myutile');

access1.myMethod1();

access1.myMethod2();

console.log(access1.myData);
output:

And also we can import only the specific function/data . for example I need to import only the `myMethod2()` and `myData` from the module
var m2 = require('./myutile').myMethod2;
var data = require('./myutile').myData;

m2();

console.log(data);
output:

Using Typescript
sample module ‘myutile.js’
export const myMethod1 = () => {
    console.log('Hi 1')
}

export const myMethod2 = () => {
    console.log('Hi 2')
}

export const myData = {
    name: 'myname',
    age: 22
}

export default {
    myMethod1,
    myMethod2,
    myData
};
import allUtiles from './myutile';

allUtiles.myMethod1();

allUtiles.myMethod2();

console.log(allUtiles.myData);
output

import * as allUtiles  from './myutile';

allUtiles.myMethod2();

allUtiles.myMethod1();

console.log(allUtiles.myData);
output

import {myMethod1,myData} from './myutile';

myMethod1();

console.log(myData);

In this sample I am using a node module called ‘ ExcelJS‘. This will stream the data to the file instead of big data in memory (if we are keeping large amount of data in memory, we may get `JavaScript heap out of memory` exception ) this will write to the file
Install the module using npm
npm install exceljs --save
then in the node application just import the module
const Excel = require('exceljs');

const options = {
  filename: 'myfile.xlsx',
  useStyles: true,
  useSharedStrings: true
};

const workbook = new Excel.stream.xlsx.WorkbookWriter(options);

const worksheet = workbook.addWorksheet('my sheet');

worksheet.columns = [
    { header: 'Id', key: 'id' },
    { header: 'First Name', key: 'first name' },
    { header: 'Phone', key: 'ph' }
]

var data;

for(let i = 1; i<= 10; i++){

  data = {
    id: i,
    'first name': "name "+i,
    ph: "012014520"+i
  };

  worksheet.addRow(data).commit();
}

workbook.commit().then(function() {
  console.log('excel file cretaed');
});
we can use the same module in typescript also
refer : exceljs
Codeigniter create custom config
Create config file in ‘application\config’ folder, give any name (for example I have given ‘cust_settings.php’ [application\config\cust_settings.php] )
<?php
if (!defined('BASEPATH')) exit('No direct script access allowed');


$config['site_name'] = 'My website';
$config['protocol'] = 'smtp';
$config['smtp_host'] = 'smtp1.server.com';
$config['smtp_user'] = 'username';
$config['smtp_pass'] = 'password';
$config['smtp_port'] = '25';
You can use ‘config->load()’ function to load the configuration and ‘$this->config->item()’ to retrieve the configuration values
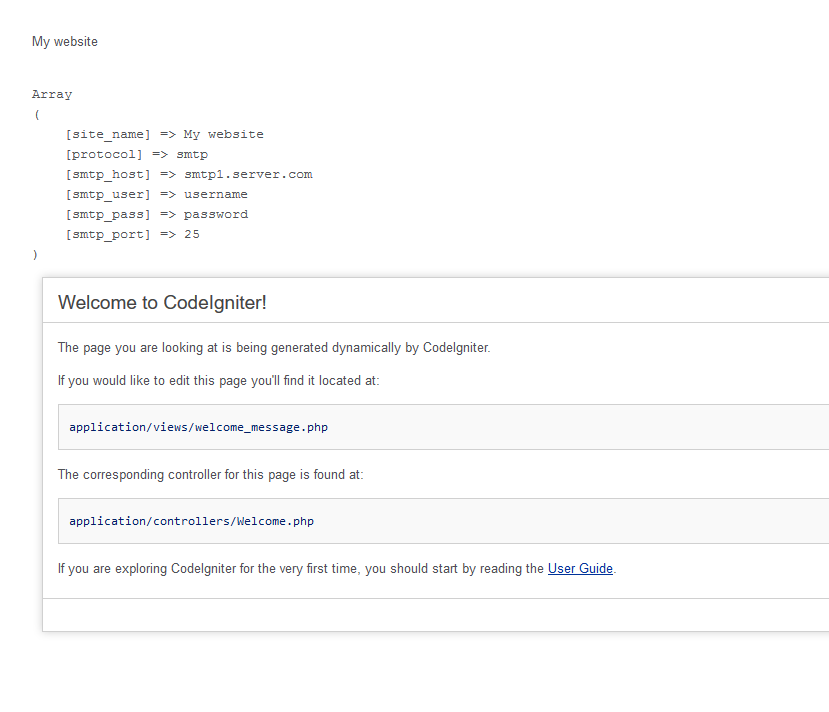
<?php
defined('BASEPATH') OR exit('No direct script access allowed');

class Welcome extends CI_Controller {

	public function index()
	{


		// Loads a config file named cust_settings.php and assigns it to an index named "cust_settings"
		$this->config->load('cust_settings', TRUE);

		// Retrieve a config item named site_name contained within the cust_settings array
		$site_name = $this->config->item('site_name', 'cust_settings');

		echo $site_name."<br><br>";

		// An alternate way to specify the same item:
		$cust_settings = $this->config->item('cust_settings');

		//$site_name = $cust_settings['site_name'];

		echo "<pre>";
		print_r($cust_settings);
		echo "</pre>";

                $this->load->view('welcome_message');


	}
}
Output
For using this we can load multiple configuration files
ref: codeigniter.com
In the bellow example, getting list of person id not exist in the given list
SELECT E.person_id
FROM (VALUES
(661),
(1826),
(2036),
(2567),
(2922),
(3408)
) E(person_id)
WHERE NOT EXISTS
(
    SELECT 1
    FROM persontable P
    WHERE E.person_id = P.id
)
SELECT E.email
FROM (VALUES
('email1@test.com'),
('email2@test.com'),
('email3@test.com'),
('email4@test.com')
)
E(email)
WHERE NOT EXISTS
(
    SELECT 1
    FROM person P
    WHERE E.email = P.emailid
)
tested in PostgreSQL
Add the following code in function.php to enable or start session in wordpress
add_action('init', 'activate_session', 1);

function activate_session() {
    if(!session_id()) {
        session_start();
    }
}
This is a basic example for beginners for creating a basic java spring boot application using ‘spring-boot-starter-parent’.
In this tutorial I am using Spring tool suite as my IDE.
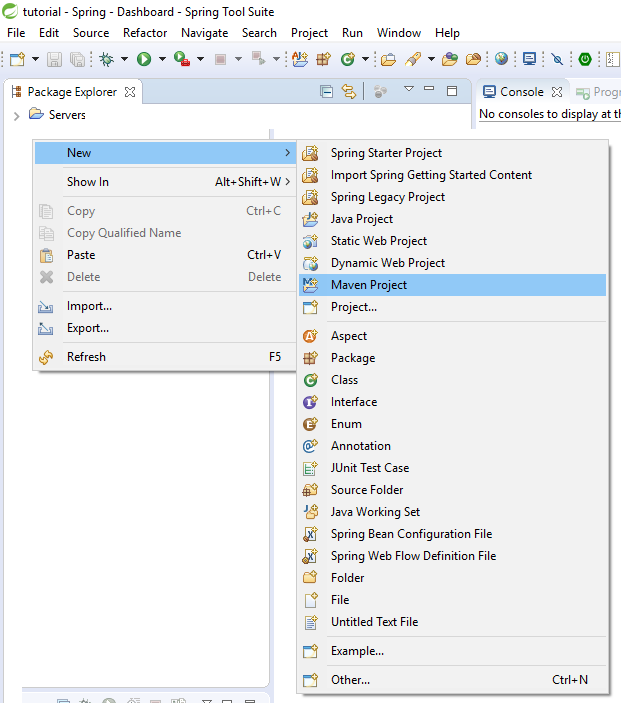
I.1: File->New -> Maven Project (You can do it by write clicking in the blank space of Package Explorer )
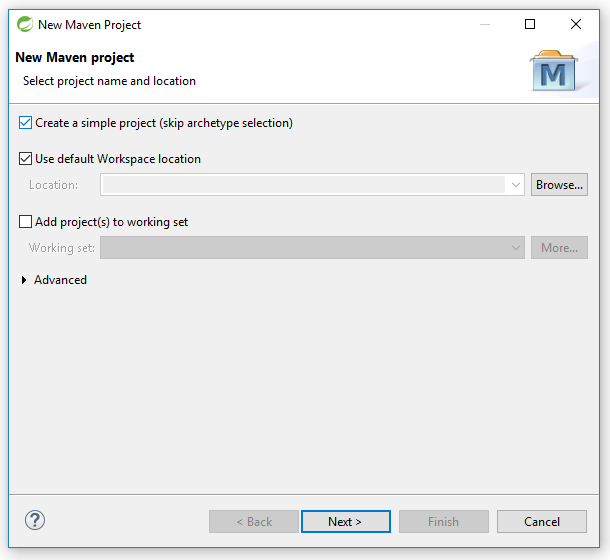
I.2: I have selected ‘create a simple project ( skip archetye selection)’ this allow me to kip the Archetype selection
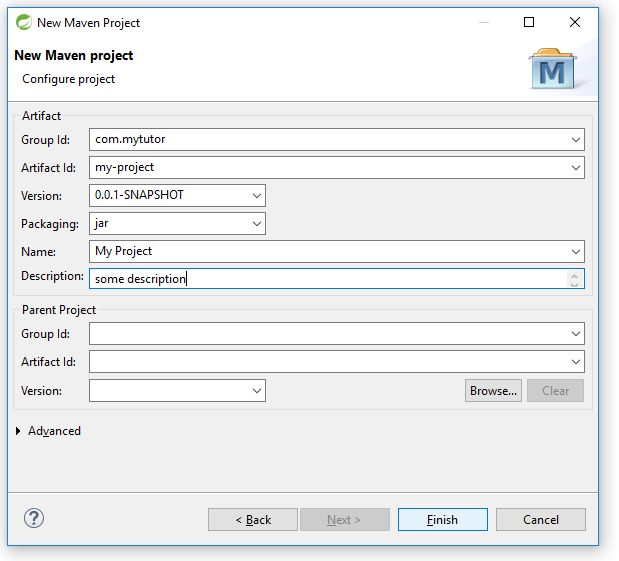
I.3 : Setting group id and artifact id and other project related details
Done with the maven project creation, you can see the IDE automatically create the project folder structure like bellow .
You can see the project details in pom.xml file
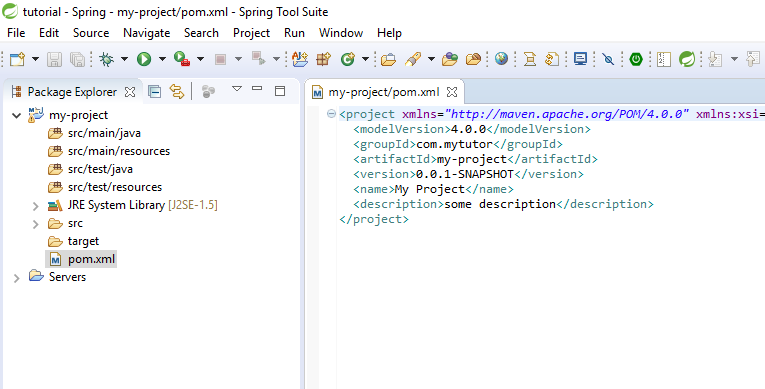
<project xmlns="http://maven.apache.org/POM/4.0.0" xmlns:xsi="http://www.w3.org/2001/XMLSchema-instance"
	xsi:schemaLocation="http://maven.apache.org/POM/4.0.0 http://maven.apache.org/xsd/maven-4.0.0.xsd">
	<modelVersion>4.0.0</modelVersion>
	<groupId>com.mytutor</groupId>
	<artifactId>my-project</artifactId>
	<version>0.0.1-SNAPSHOT</version>
	<name>My Project</name>
	<description>some description</description>

	<properties>
		<java.version>1.8</java.version> <!-- Setting java version -->
	</properties>

	<parent> <!-- here we are saying our project is a child of the  spring-boot-starter-parent project -->
		<groupId>org.springframework.boot</groupId>
		<artifactId>spring-boot-starter-parent</artifactId>
		<version>1.5.3.RELEASE</version>
	</parent>

	<dependencies>
		<dependency> <!-- Adding spring boot dependency -->
			<groupId>org.springframework.boot</groupId>
			<artifactId>spring-boot-starter-web</artifactId>
		</dependency>

         </dependencies>

</project>
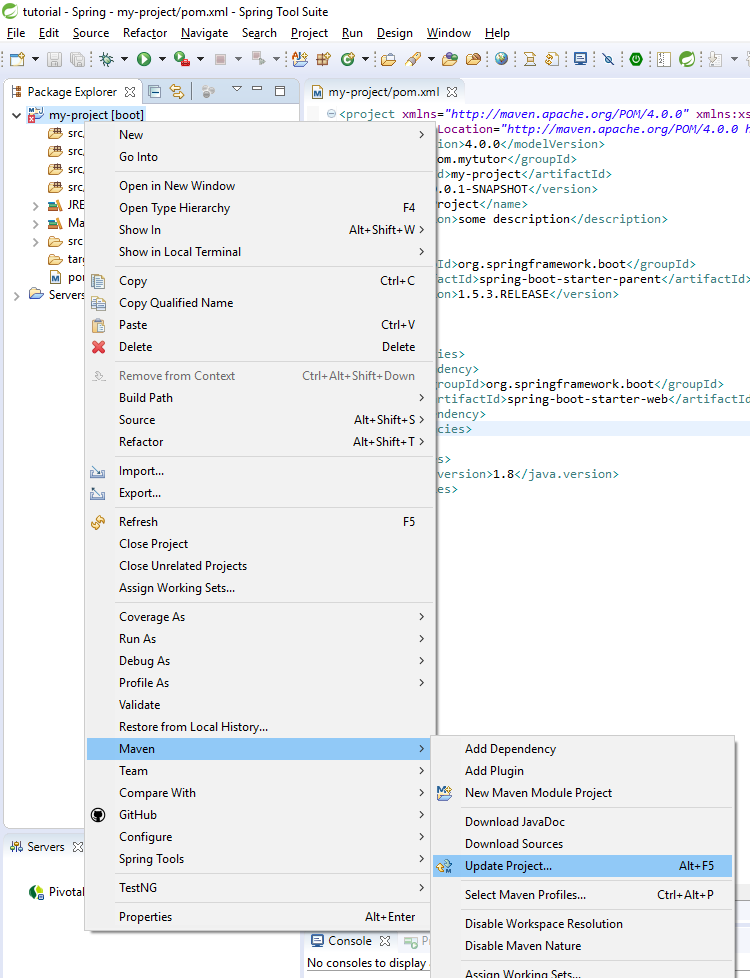
write click on project folder->Maven->Update Project
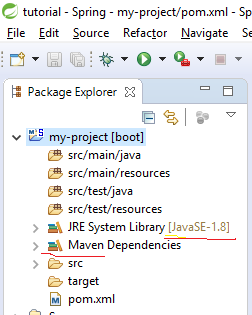
After update we can see JRe updated to 1.8 and added Maven Dependencies
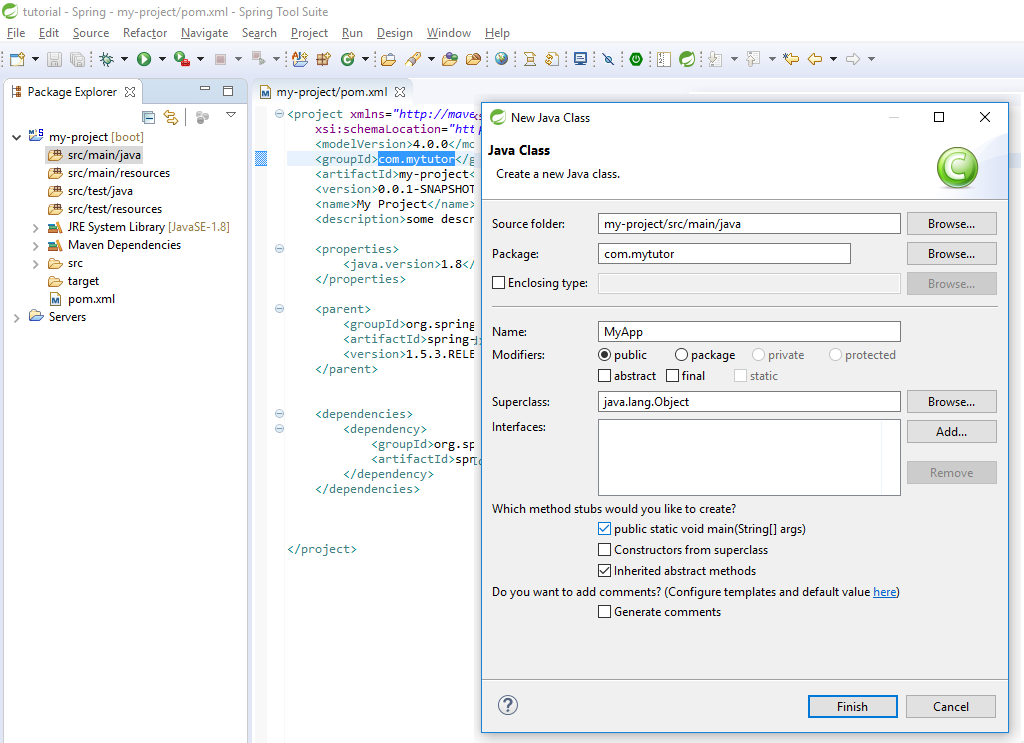
Now we can create our application entry point
Crate a class like bellow (sselect the tic ‘public static void main’ to auto generate the function)
Right click in Package Explorer -> New ->Class
Then add @SpringBootApplication annotation to the class and add SpringApplication.run(MyApp.class, args); inside the main function
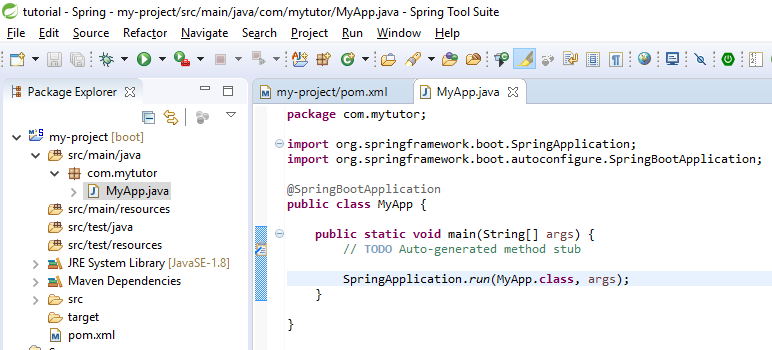
package com.mytutor;

import org.springframework.boot.SpringApplication;
import org.springframework.boot.autoconfigure.SpringBootApplication;

@SpringBootApplication
public class MyApp {


	public static void main(String[] args) {
		// TODO Auto-generated method stub

		SpringApplication.run(MyApp.class, args);
	}

}
Now we can create our controller
Right click in Package Explorer -> New ->Class
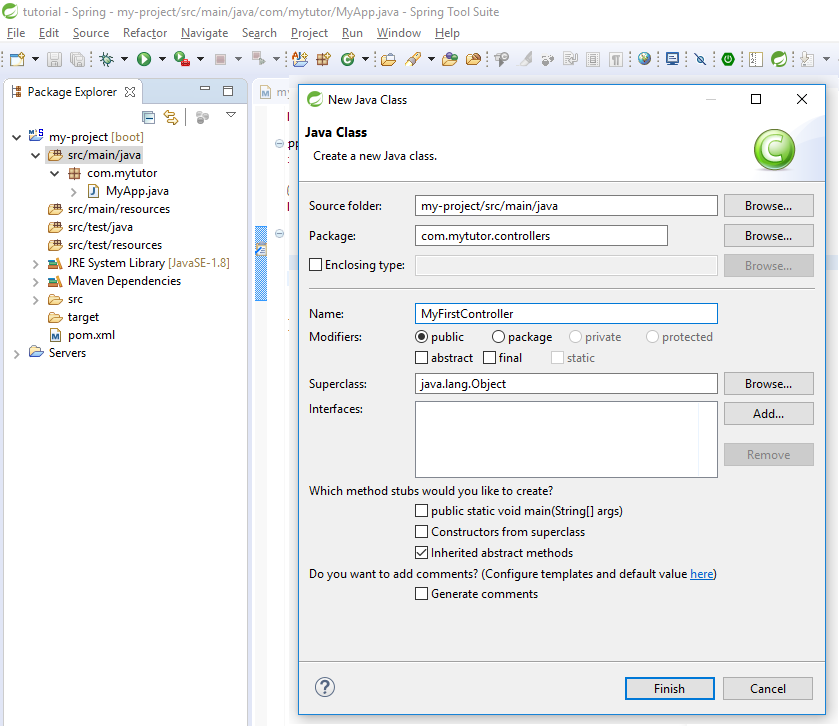
Add the following code in the file
package com.mytutor.controllers;

import org.springframework.web.bind.annotation.RequestMapping;
import org.springframework.web.bind.annotation.RestController;

@RestController
public class MyFirstController {

	@RequestMapping("/home")     //Request mapping https://localhost/home
    String myHome() {
        return "Hello World!";
    }

}
You are done
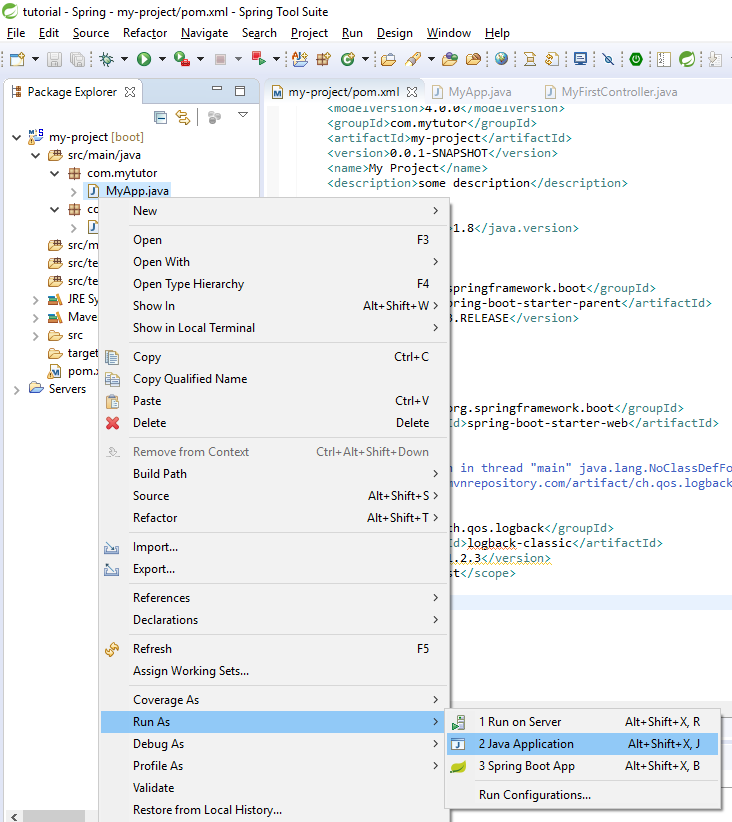
Now we can run our application You can press the Green *Play button 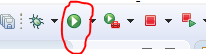 Or you can right click the project folder and select the Run As – >Java Application
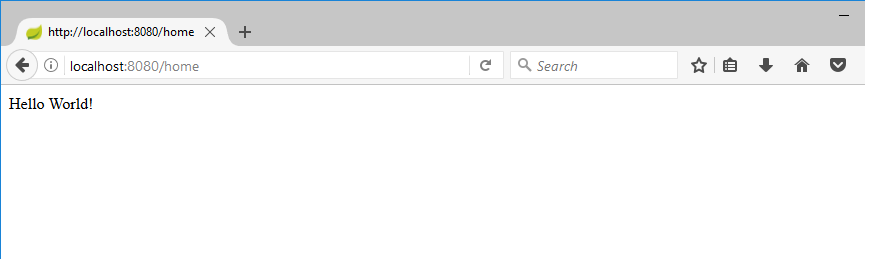
Tadaaaaa! Our project is running

Now we can hit the url
We and run Spring boot application from command line also by using the command mvn spring-boot:run
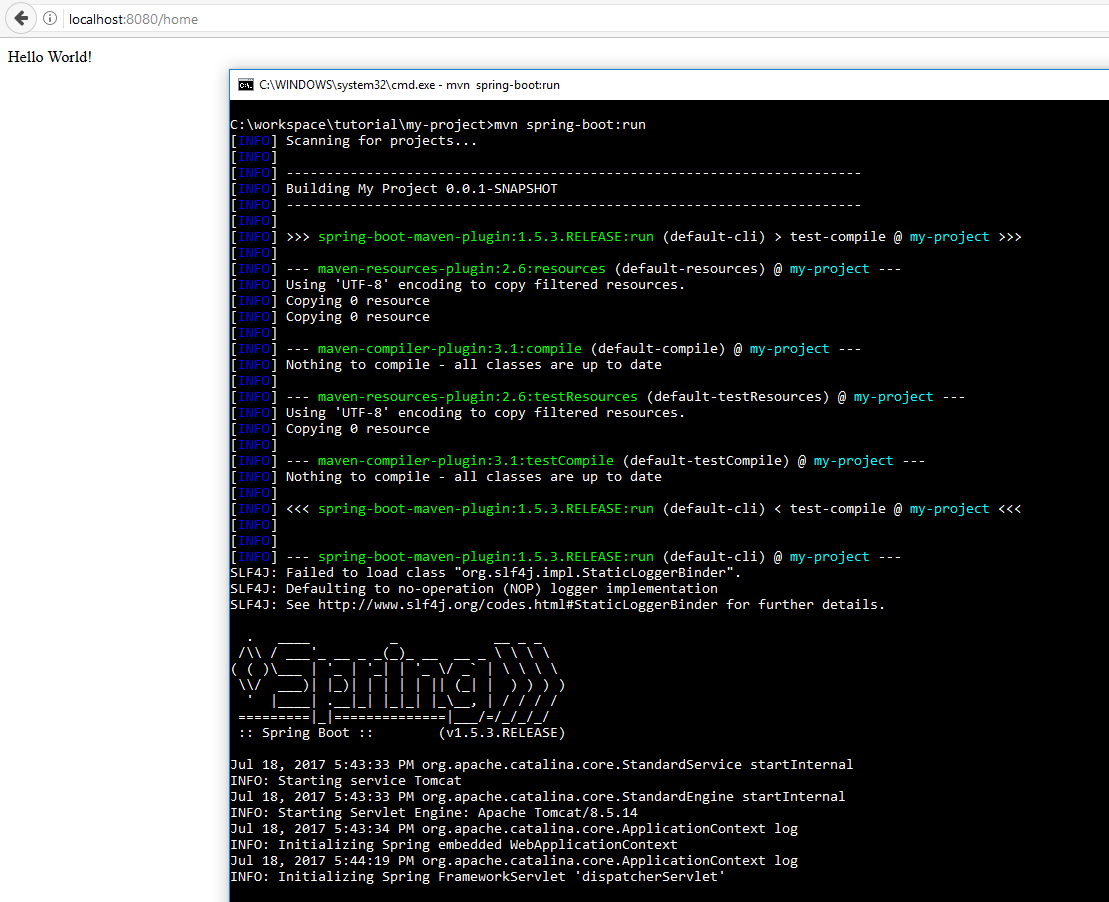
Done
Note
If you are getting the error “Exception in thread “main” java.lang.NoClassDefFoundError: ch/qos/logback/classic/turbo/TurboFilter ” please add the logback-classic dependency in pom file
	<dependencies>
		<dependency>
			<groupId>org.springframework.boot</groupId>
			<artifactId>spring-boot-starter-web</artifactId>
		</dependency>

		<!-- Exception in thread "main" java.lang.NoClassDefFoundError: ch/qos/logback/classic/turbo/TurboFilter  -->
		<!-- https://mvnrepository.com/artifact/ch.qos.logback/logback-classic -->
		<dependency>
		    <groupId>ch.qos.logback</groupId>
		    <artifactId>logback-classic</artifactId>
		    <version>1.2.3</version>
		    <scope>test</scope>
		</dependency>

	</dependencies>


