


This is a basic example for beginners for creating a basic java spring boot application using ‘spring-boot-starter-parent’.
In this tutorial I am using Spring tool suite as my IDE.
Step I. Create a Maven project
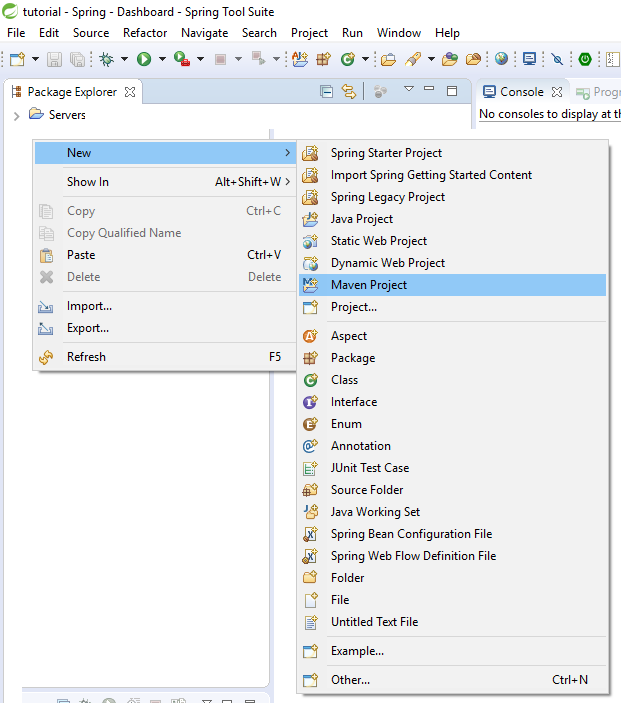
I.1: File->New -> Maven Project (You can do it by write clicking in the blank space of Package Explorer )
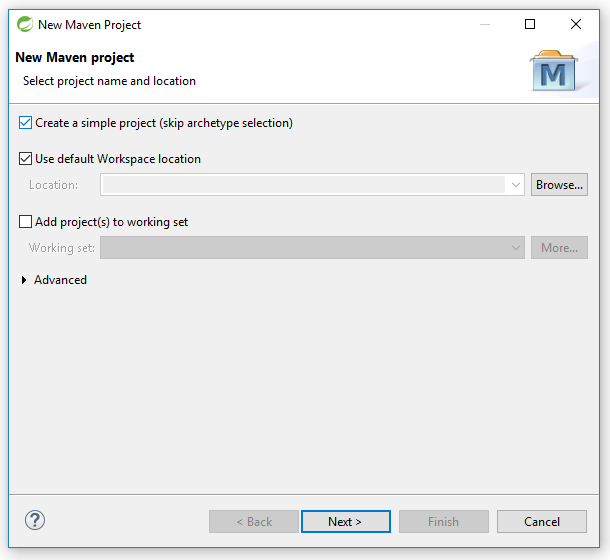
I.2: I have selected ‘create a simple project ( skip archetye selection)’ this allow me to kip the Archetype selection
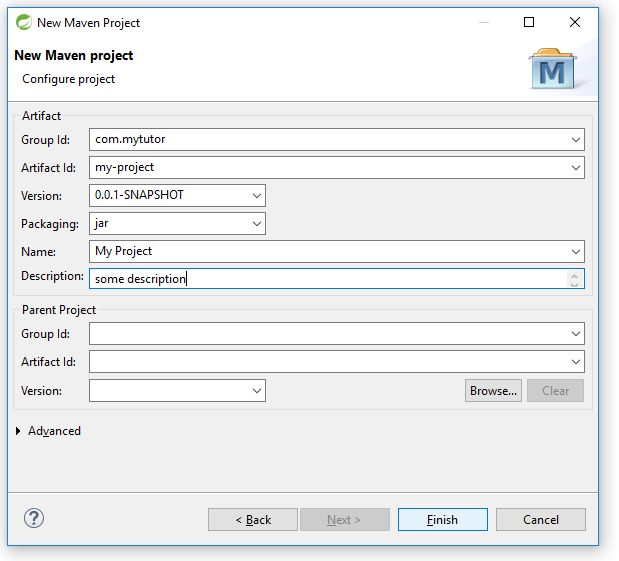
I.3 : Setting group id and artifact id and other project related details
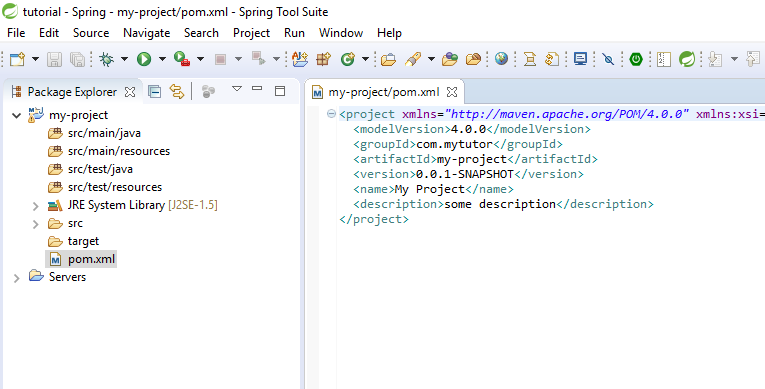
Done with the maven project creation, you can see the IDE automatically create the project folder structure like bellow .
You can see the project details in pom.xml file
Add the spring boot dependency
<project xmlns="http://maven.apache.org/POM/4.0.0" xmlns:xsi="http://www.w3.org/2001/XMLSchema-instance"
	xsi:schemaLocation="http://maven.apache.org/POM/4.0.0 http://maven.apache.org/xsd/maven-4.0.0.xsd">
	<modelVersion>4.0.0</modelVersion>
	<groupId>com.mytutor</groupId>
	<artifactId>my-project</artifactId>
	<version>0.0.1-SNAPSHOT</version>
	<name>My Project</name>
	<description>some description</description>

	<properties>
		<java.version>1.8</java.version> <!-- Setting java version -->
	</properties>

	<parent> <!-- here we are saying our project is a child of the  spring-boot-starter-parent project -->
		<groupId>org.springframework.boot</groupId>
		<artifactId>spring-boot-starter-parent</artifactId>
		<version>1.5.3.RELEASE</version>
	</parent>

	<dependencies>
		<dependency> <!-- Adding spring boot dependency -->
			<groupId>org.springframework.boot</groupId>
			<artifactId>spring-boot-starter-web</artifactId>
		</dependency>

         </dependencies>

</project>
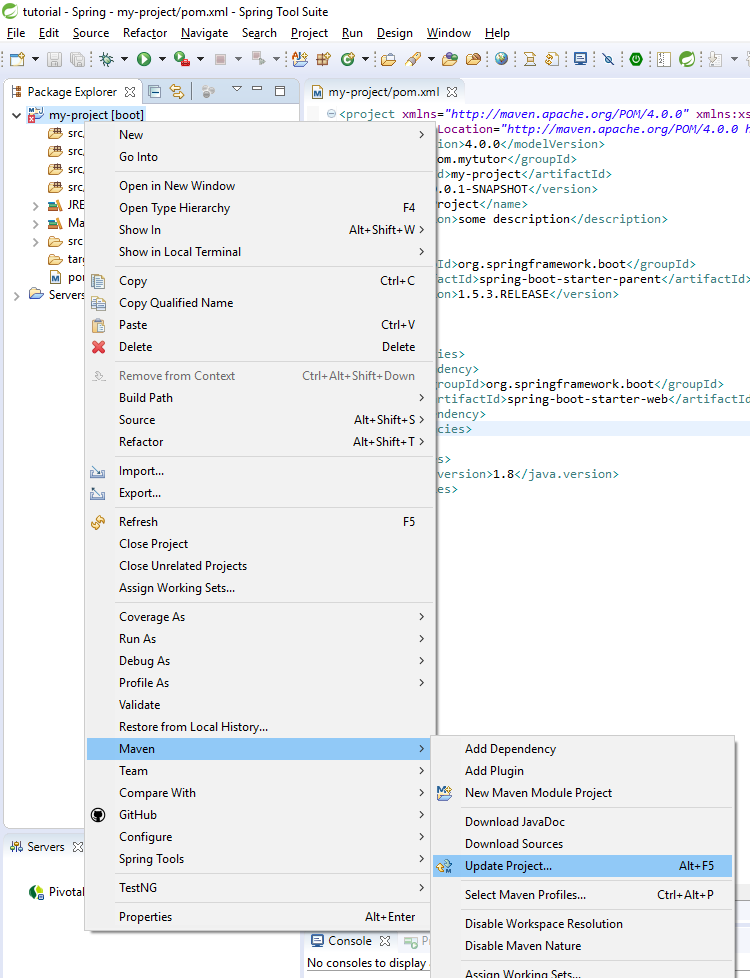
Update the project
write click on project folder->Maven->Update Project
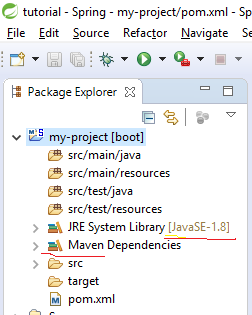
After update we can see JRe updated to 1.8 and added Maven Dependencies
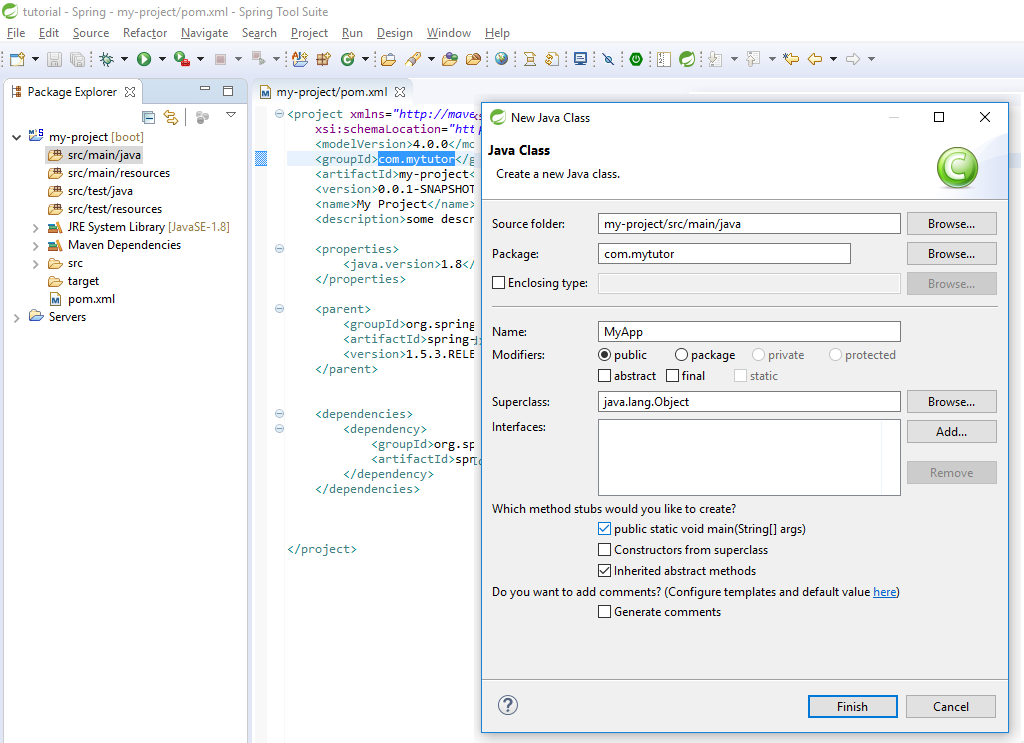
Now we can create our application entry point
Crate a class like bellow (sselect the tic ‘public static void main’ to auto generate the function)
Right click in Package Explorer -> New ->Class
Then add @SpringBootApplication annotation to the class and add SpringApplication.run(MyApp.class, args); inside the main function
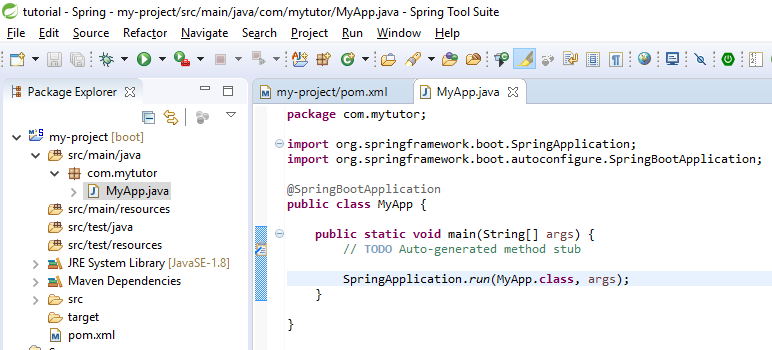
package com.mytutor;

import org.springframework.boot.SpringApplication;
import org.springframework.boot.autoconfigure.SpringBootApplication;

@SpringBootApplication
public class MyApp {


	public static void main(String[] args) {
		// TODO Auto-generated method stub

		SpringApplication.run(MyApp.class, args);
	}

}
Now we can create our controller
Right click in Package Explorer -> New ->Class
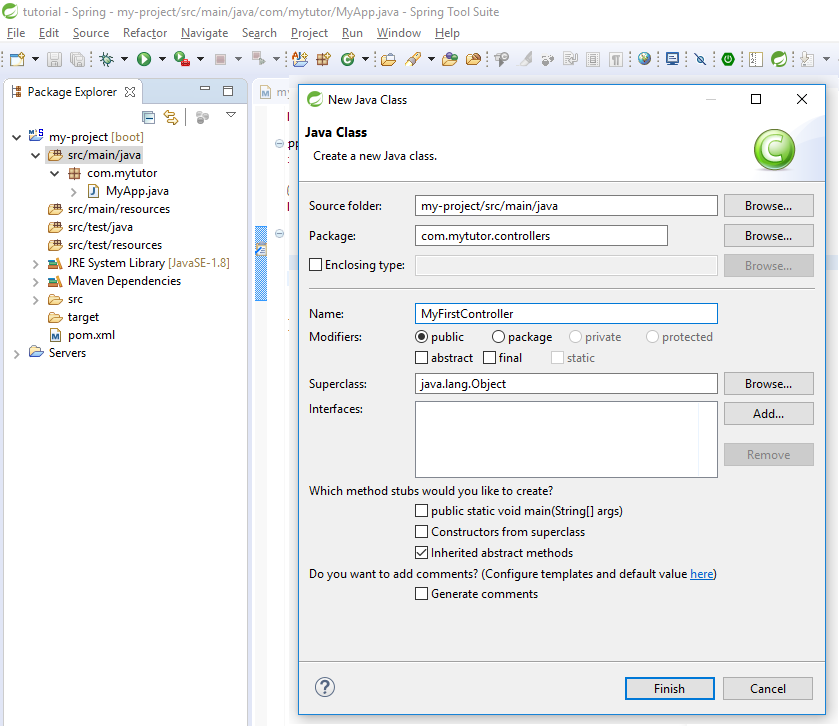
Add the following code in the file
package com.mytutor.controllers;
import org.springframework.web.bind.annotation.RequestMapping;
import org.springframework.web.bind.annotation.RestController;
@RestController
public class MyFirstController {
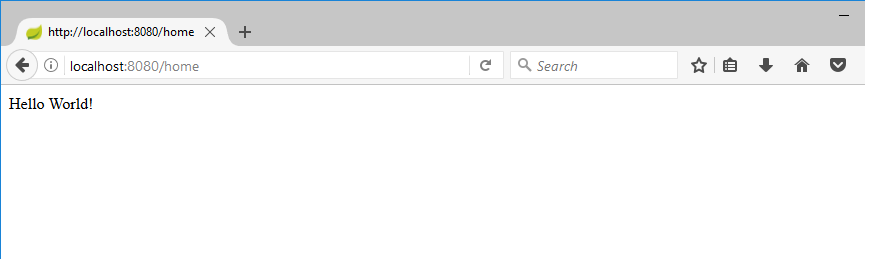
@RequestMapping("/home") //Request mapping https://localhost/home
String myHome() {
return "Hello World!";
}
}
You are done
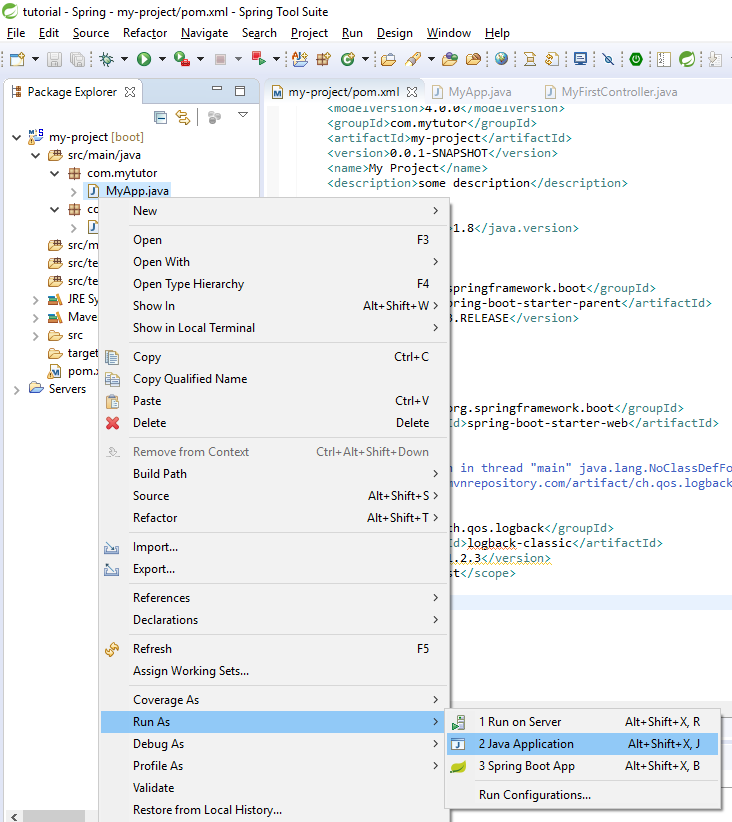
Now we can run our application You can press the Green *Play button 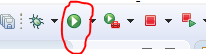 Or you can right click the project folder and select the Run As – >Java Application
Tadaaaaa! Our project is running

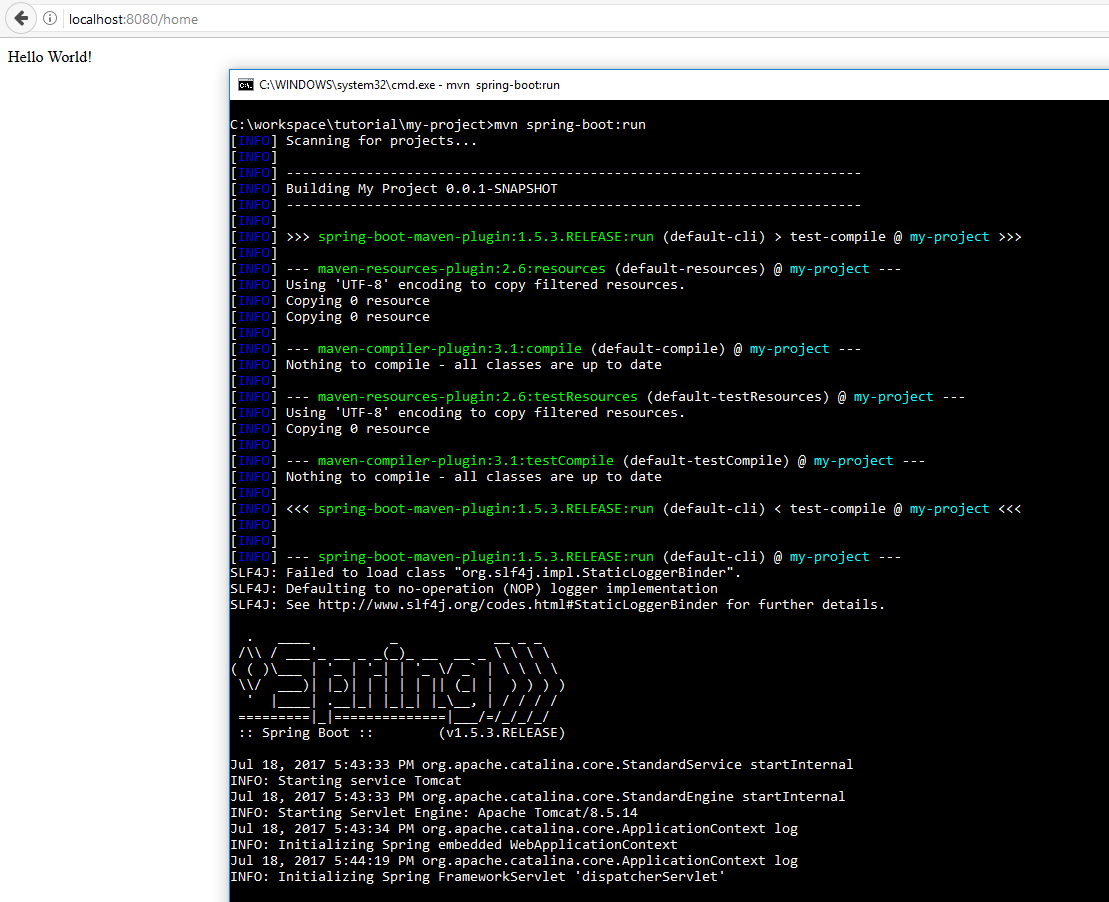
Now we can hit the url
We and run Spring boot application from command line also by using the command mvn spring-boot:run
Done
Note
If you are getting the error “Exception in thread “main” java.lang.NoClassDefFoundError: ch/qos/logback/classic/turbo/TurboFilter ” please add the logback-classic dependency in pom file
	<dependencies>
		<dependency>
			<groupId>org.springframework.boot</groupId>
			<artifactId>spring-boot-starter-web</artifactId>
		</dependency>

		<!-- Exception in thread "main" java.lang.NoClassDefFoundError: ch/qos/logback/classic/turbo/TurboFilter  -->
		<!-- https://mvnrepository.com/artifact/ch.qos.logback/logback-classic -->
		<dependency>
		    <groupId>ch.qos.logback</groupId>
		    <artifactId>logback-classic</artifactId>
		    <version>1.2.3</version>
		    <scope>test</scope>
		</dependency>

	</dependencies>